
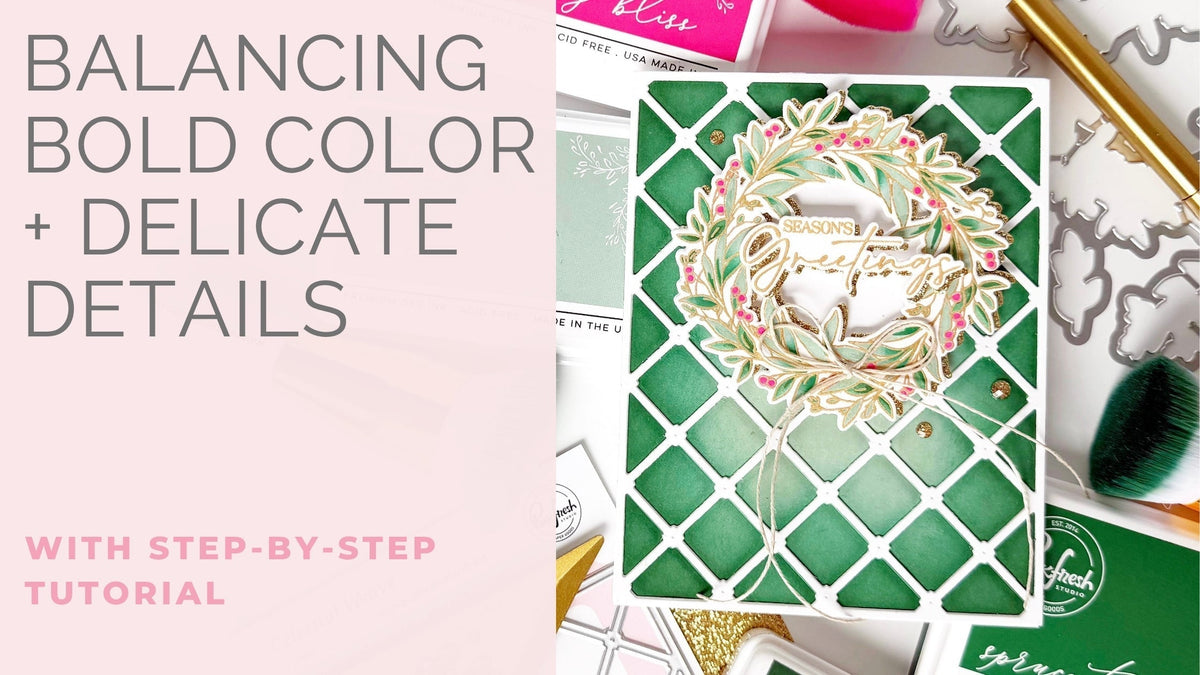
There is something about deep evergreen tones paired with gold that instantly feels elegant for Christmas cardmaking. For my first Christmas card of the year, I leaned all the way into that combination, pairing a dramatic ink-blended background with delicate gold embossing and plenty of dimension.
The Celestial Weave Cover Plate creates the perfect backdrop for the Seasonal Sprigs wreath, especially when the pattern is layered over a coordinating dry-embossed panel. I kept the wreath itself light and airy, then added just enough gold glitter cardstock behind the die cuts to catch the light without overwhelming all of those beautiful details.
The finished card has lots of layers, but the combination of crisp white, rich greens, and delicate gold keeps everything feeling refined and balanced. Let’s get started!

How to re-create this card:
- Cut a 4 1/4" x 11" piece of white cardstock and score at 5 1/2" to create a top-folding A2 card base.
2. Dry emboss the Celestial Weave Coverplate on an A2 panel of white cardstock.
3. Ink blend Sage, Spruce Tips, and Evergreen around the perimeter of the dry-embossed panel, keeping the center lighter and gradually deepening the color toward the outer edges.
4. Die cut the Celestial Weave Coverplate twice from white cardstock and stack the two die cuts together using liquid glue.
5. Adhere the ink-blended panel to the card base, then adhere the stacked Celestial Weave die cuts over the panel.
6. Stamp the Seasonal Sprigs images and sentiment onto white cardstock using VersaMark ink and heat emboss with Hero Arts Iridescent Gold Embossing Powder.
7. Add color to the embossed images using the coordinating stencils:
• Stencil 1: Spruce Tips
• Stencil 2: Sage, Spruce Tips
• Stencil 3: Raspberry Bliss, Evergreen
• Stencil 4: Sage, Spruce Tips
• Stencil 5: Evergreen
• Stencil 6: Raspberry Bliss
8. Die cut the images and sentiment using the coordinating dies, then die cut two additional blank white layers for each piece.
9. Stack each embossed die cut with its two coordinating blank die cuts for added sturdiness and dimension.
10. Die cut an additional wreath and sentiment from gold glitter cardstock. Adhere each glitter die cut behind its coordinating stacked piece, slightly offsetting the gold layer so it peeks out around the edges.
11. Die cut a Double Stitched Circle from white cardstock and adhere it to the card using thin foam tape.
12. Adhere the wreath over the circle using thick foam squares.
13. Adhere the sentiment in the center of the wreath using a double layer of thick foam squares.
14. Create a double-loop bow from twine and adhere it to the base of the wreath.
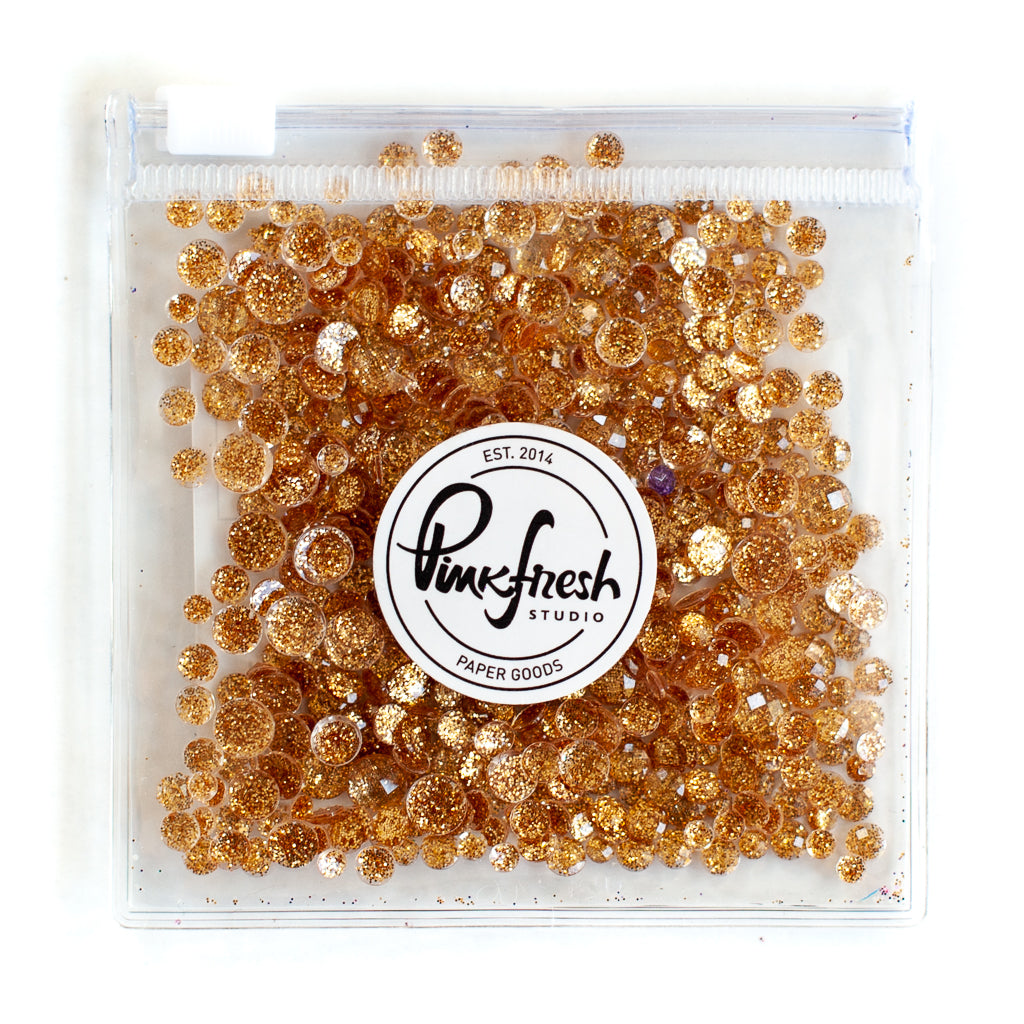
15. Finish the card with three Gold Glitter Drops.


I love the contrast on this card. The rich green background gives the design so much drama, while the white lattice, soft greenery, and delicate gold embossing keep the focal point light and elegant. That tiny offset of gold glitter cardstock is an easy way to bring in extra sparkle without competing with the embossed details.
And just like that, my first Christmas card of the year is officially finished! I have a feeling this combination of greenery, gold, and layered texture is going to make its way onto quite a few more holiday cards before the season is over.

You can watch me make this card LIVE here:
Recommended Products











Leave a comment
All comments are moderated before being published.
This site is protected by hCaptcha and the hCaptcha Privacy Policy and Terms of Service apply.