

Hi everyone! It’s Kathleen here again with another Season of Wonder card. Today’s card is super quick and easy to put together, making it perfect for mass production!
I’ll share some tips and tricks at the end of this blog post to help you mass produce this card even more quickly and easily. But first, let’s take a look at how to make it:
*Disclaimer: All products used are linked below as clickable images. If a product isn’t listed, it’s been discontinued.


Step-by-step instructions:
-
Card Base & Panel:
- (1) A2 top or side-folding card base from white cardstock
- (1) A2 panel from white cardstock
- (1) A2 top or side-folding card base from white cardstock
-
Starlit Strands Background:
- Ink blend the A2 panel with Coral Reef all over (or use colored cardstock in a similar color)
- Letterpress the Starlit Strands Press Plate onto the panel using Mulberry Blush for a tone-on-tone look.
- Trim off approx. 1/8" on all sides and adhere centered onto the card front.
-
Sentiment:
- Hot foil a Treasured Greetings sentiment in gold, silver, or champagne onto white cardstock.
- Die cut & stack with (2) blank pieces.
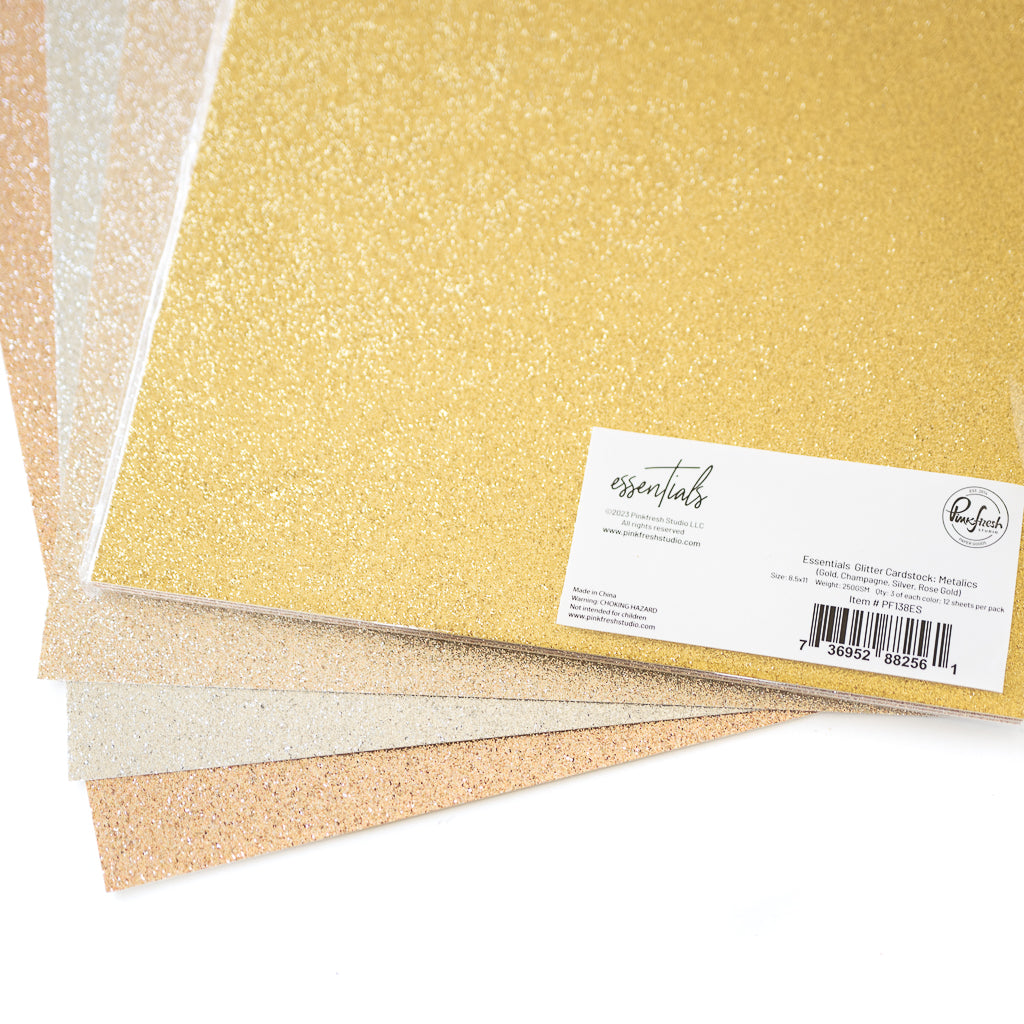
- Die cut another blank piece from a matching Glitter Cardstock & adhere slightly offset. Then adhere the stacked sentiment onto the card front.
-
Star Embellishments:
- Die cut the Celestial Quilt coverplate die from the same color Glitter Cardstock & adhere some of the die-cut stars to the background.
- Die cut the coverplate die another time from white cardstock & ink blend the die-cut stars in various colors (or die cut from colored cardstock).
I used Cherry Blossom, Slumber, Olive, and Lush Forest for my stars.
Tip: You don’t need to cut a full panel with the Celestial Quilt coverplate die if you only want to use the stars as embellishments. Simply die cut it from a scrap piece of cardstock instead - a great way to use up smaller scraps, too!

Tips & Tricks for Mass Production:
- Hot foil all the Treasured Greetings sentiments* in one or two batches (perhaps splitting them between gold and silver) and die cut sentiment blanks from white cardstock and matching Glitter Cardstock.
- Die cut the Celestial Quilt coverplate die from the coordinating Glitter Cardstock colors.
- Die cut the Celestial Quilt coverplate die from a few different colors of cardstock, or use white cardstock and ink blend it in your desired colors.
- Letterpress the Starlit Strands press plate onto A2 panels in the same cardstock colors for a tone-on-tone look. For example, use Evergreen or Lush Forest ink on Olive, or Stargazer ink on Slumber.
*or use the Treasured Greetings stamp to stamp all the sentiments
Once you have all these elements prepared, assembling the cards is quick and easy, and you’ll have a beautiful set of coordinating holiday cards in no time!
And as always, we’d love to see what you create—don’t forget to tag us on social media (@pinkfreshstudio and @cardsandconfetti) so we can admire your amazing work.
Recommended Products






1 comment
Tracy
This is such a fun idea Kathleen!! I love these non-traditional colors for the holidays, too.
Leave a comment
All comments are moderated before being published.
This site is protected by hCaptcha and the hCaptcha Privacy Policy and Terms of Service apply.