

Some cards are inspired by a product. Others are inspired by a person.
Today's card is a heartfelt nod to my dear friend and incredibly talented teammate, Carissa Wiley. During a Facebook Live Tuesday, Carissa surprised me with her own "Ode to Jody," creating a project filled with design elements she knows I love. Naturally, I had to return the favor. You can watch that Live HERE.
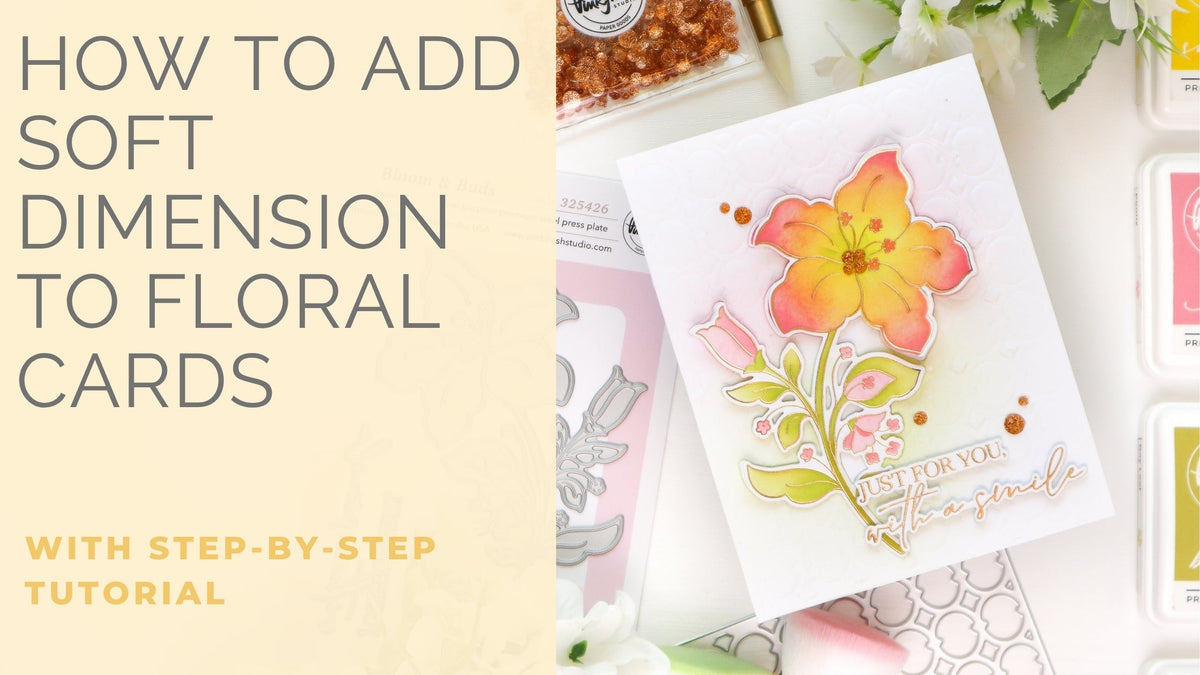
For this card, I leaned into everything that makes a Carissa design unmistakable. Rich botanical greens, soft peaches and corals, elegant gold accents, vellum, sparkle, and plenty of dimension all come together for a clean yet luxurious design. The Freesia Flourish Press Plate creates a stunning focal point, while the Lattice Glow Coverplate adds beautiful texture without competing for attention. The result is a sophisticated floral card that celebrates friendship through creativity.

- Create a white A2 top-folding card base.
- Die-cut the Lattice Glow cover plate from light peach cardstock. Gently ink-blend Coral Reef along the perimeter, then adhere it to the card base.
- Die-cut the second largest Double Stitched Elongated Oval from dark green cardstock.
- Ink blend around the edges of the oval with Olive ink to deepen the color and add dimension.
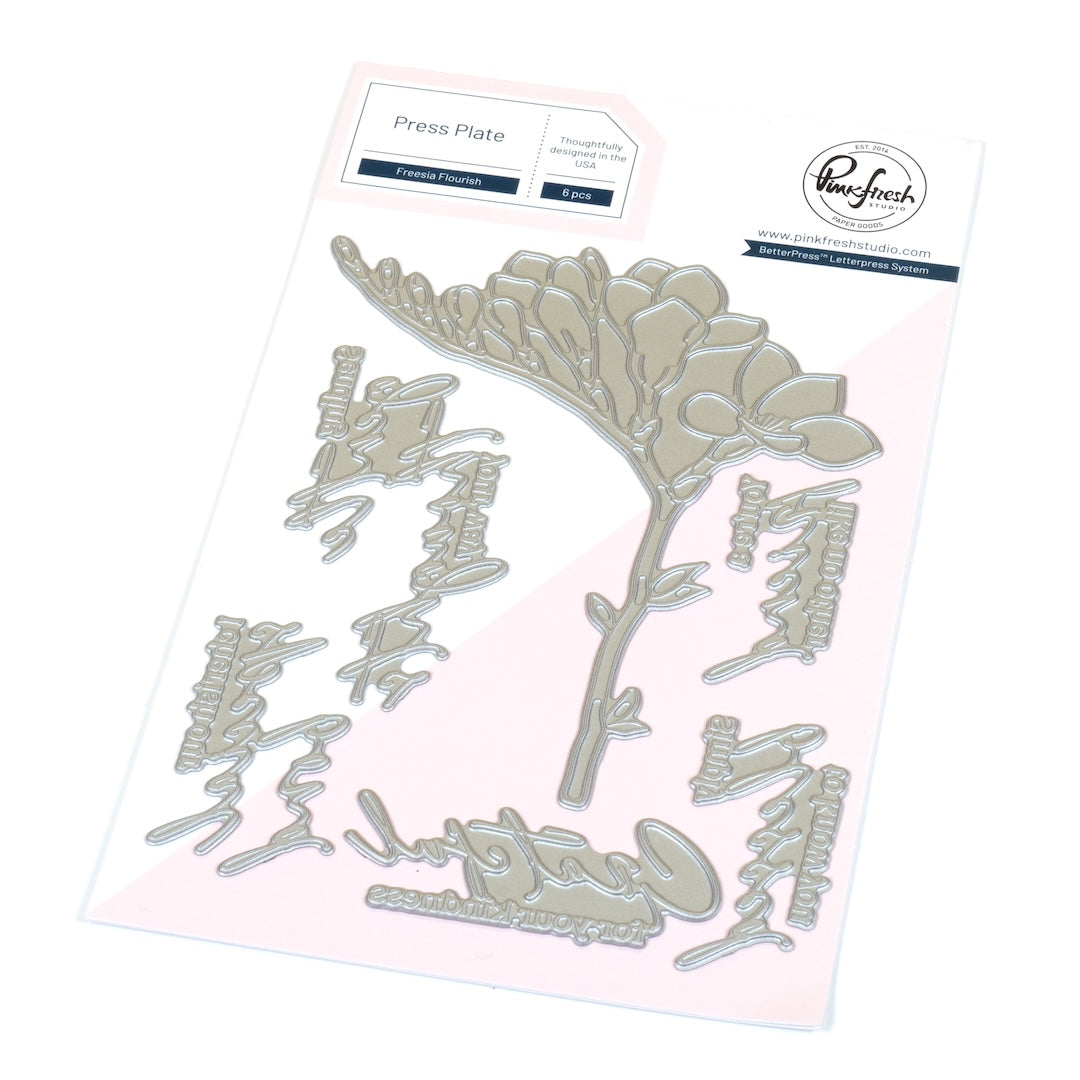
- Hot foil the Freesia Flourish press plate and the Simply Blessed to Know You sentiment with matte gold hot foil.
- Use the coordinating Freesia Flourish stencils to add color to the floral image.
- Stencil 1: Coral Reef, Fruit Punch
- Stencil 2: Fruit Punch
- Stencil 3: Mint, Olive
- Stencil 4: Mint, Olive
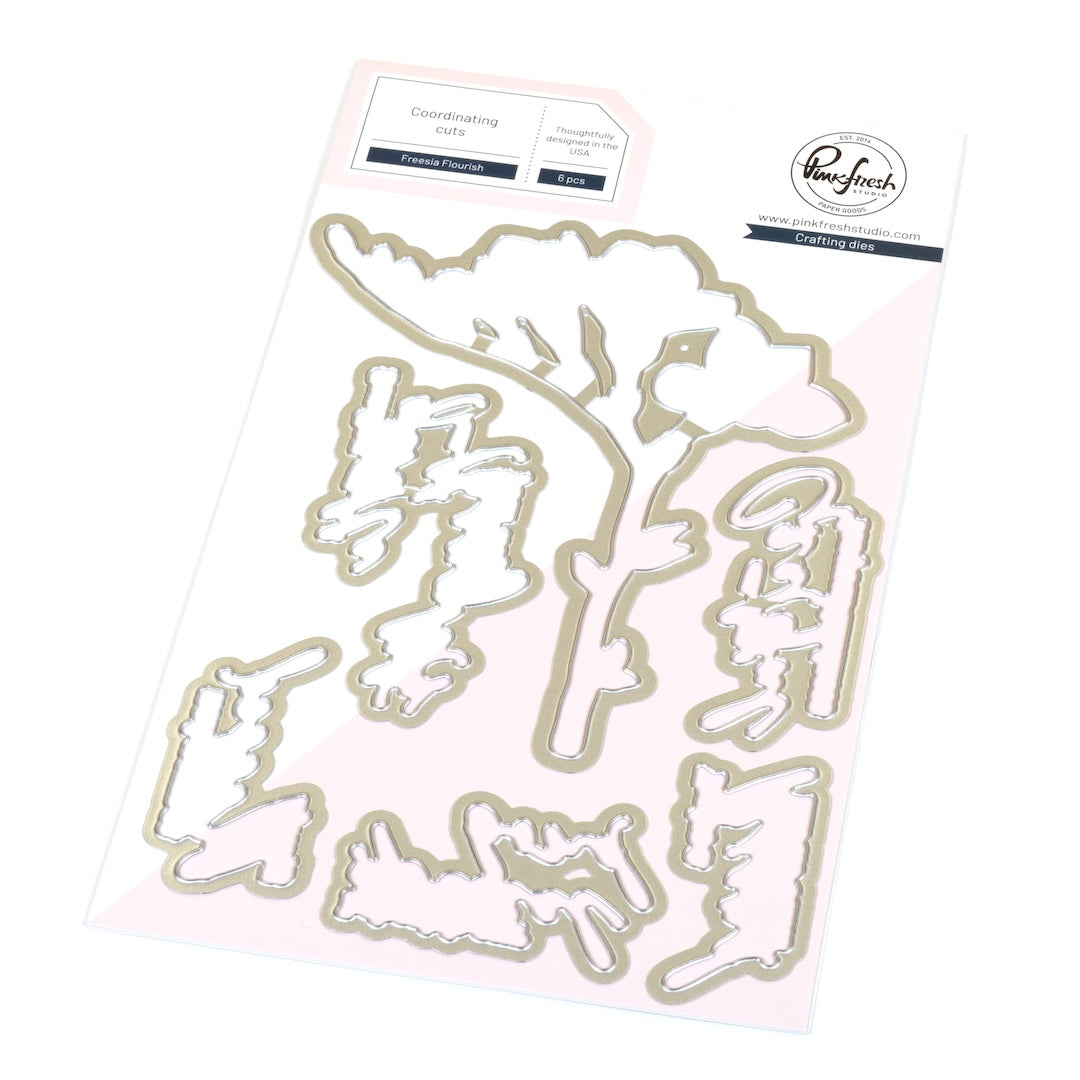
- Die-cut both the floral image and the sentiment with the coordinating dies.
- Die-cut one additional blank layer for both the floral image and the sentiment, then stack each foiled piece on top for added stability and dimension.
- Offset both stacked die-cuts onto gold glitter cardstock to create a delicate sparkling shadow.
- Adhere the green oval to the card front using thick foam tape.
- Adhere the floral image to the oval with thick foam tape, allowing part of the bloom to extend beyond the oval.
- Die-cut a vellum banner using the Basic Banners die set.
- Adhere the vellum banner across the oval with a small dab of liquid glue placed where it will be hidden by the sentiment.
- Adhere the sentiment over the vellum banner using thin foam tape.
- Finish the card with five Sparkle & Shine glitter drops.


One of my favorite ways to make a floral image feel more luxurious is by offsetting it onto glitter cardstock instead of simply adding another white layer. The thin outline of sparkle catches the light beautifully without overwhelming the design.
Deep green paired with soft peach and coral is one of my favorite unexpected color combinations. The rich background anchors the airy florals while the matte gold foiling adds warmth and elegance.
Vellum is another simple way to soften a design. It provides just enough separation behind the sentiment while allowing the beautiful ink blending underneath to remain visible.

Recommended Products











Leave a comment
All comments are moderated before being published.
This site is protected by hCaptcha and the hCaptcha Privacy Policy and Terms of Service apply.