

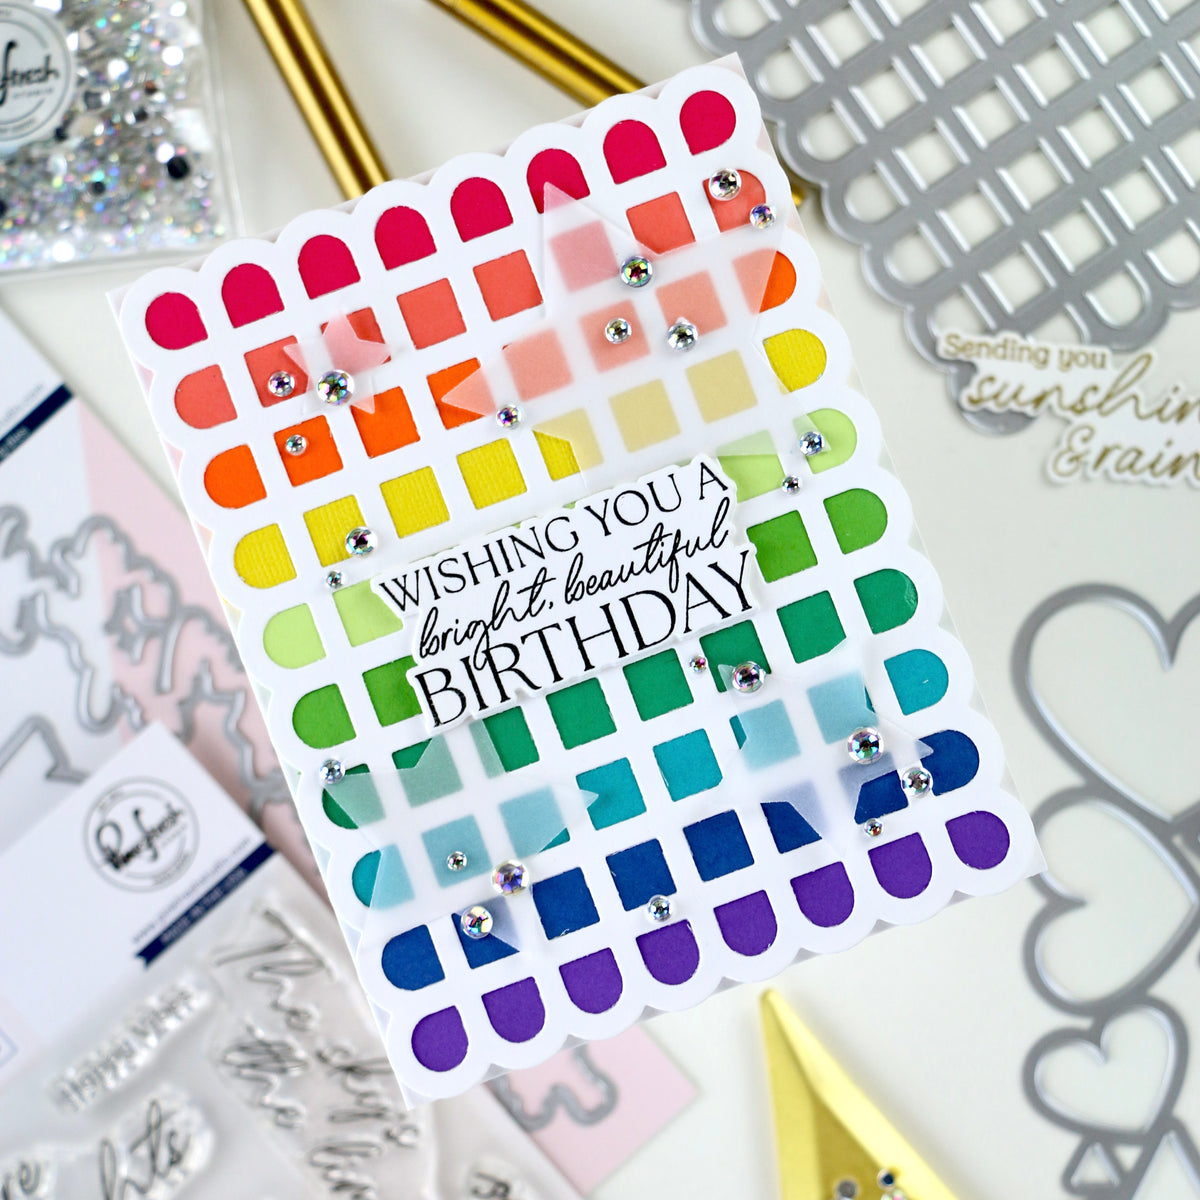
Today I'm sharing a bright and cheerful card that combines one of my favorite background-building techniques with a bold layered sentiment and beautiful florals. While the flowers naturally become the focal point, it's the colorful strips peeking through the coverplate that really make the entire design come alive.
Instead of ink blending the background, I created my own custom rainbow by adhering narrow strips of colored cardstock behind the Petal Mosaic Coverplate Die. This simple technique lets you customize your color palette while adding plenty of visual interest without overwhelming the focal point. By keeping all of the design elements flowing diagonally across the card, the eye naturally travels from the colorful background to the floral clusters and finally to the layered sentiment.

How to re-create this card:
- Create a white, top-folding A2 card base.
- Die cut the Petal Mosaic Coverplate Die from white cardstock.
- Cut 1/4" strips of pink, orange, and green cardstock that coordinate with the colors used on the floral images. Adhere the strips diagonally on the Petal Mosaic Coverplate panel using liquid glue, then trim off the excess.
- Adhere the completed Petal Mosaic Coverplate panel to the card base using liquid glue.
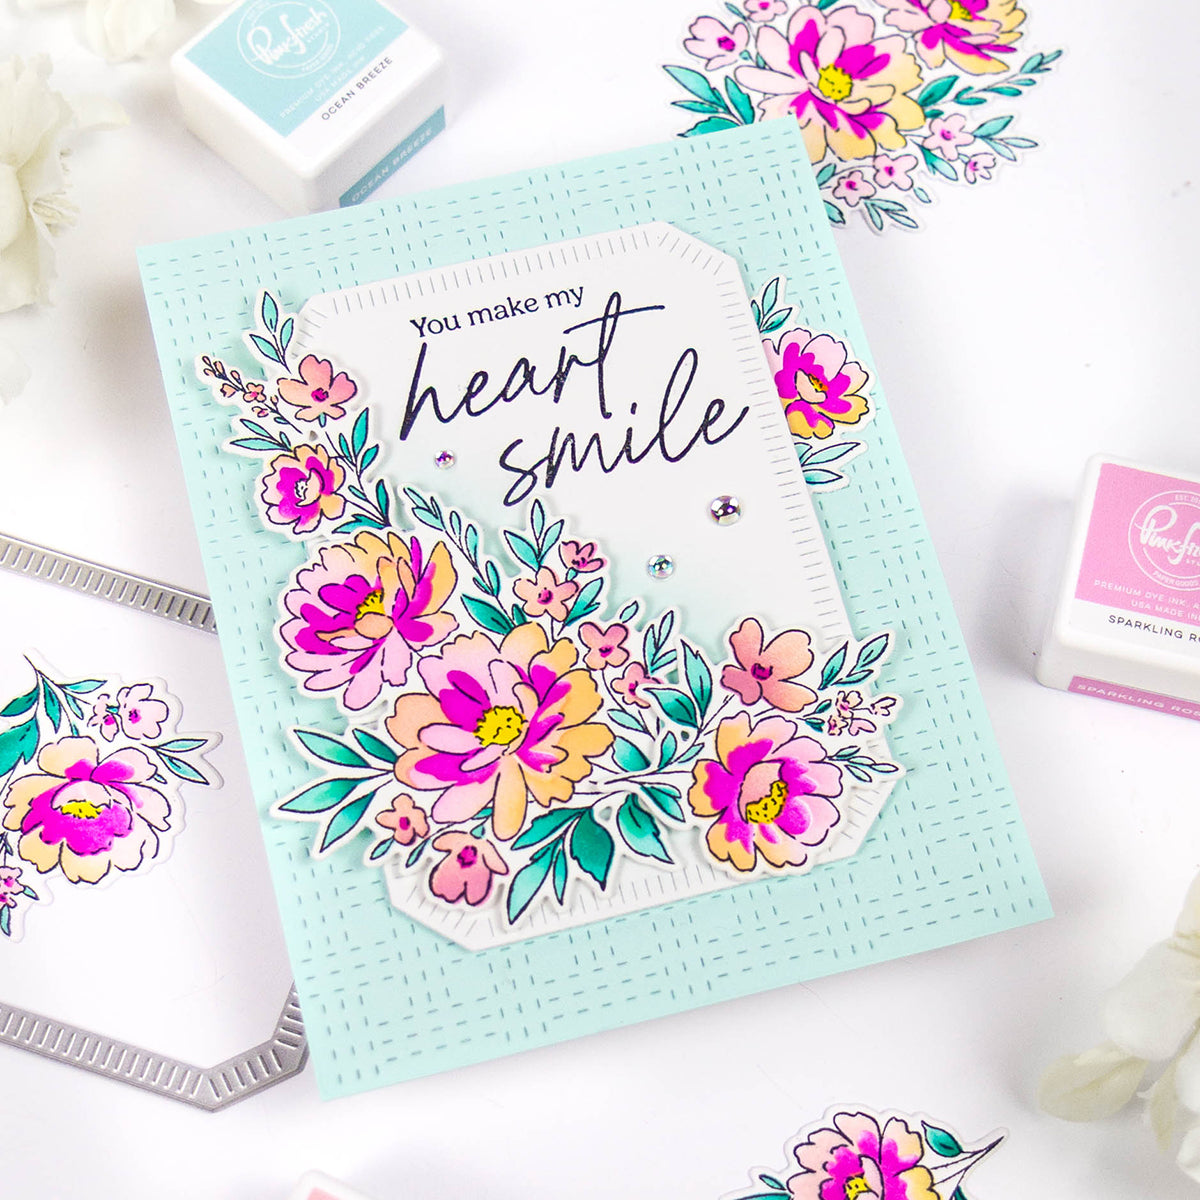
- Die cut the second largest Double Stitched Rectangle from white cardstock and ink blend Ocean Breeze ink around the edges, fading to white in the center.
- Die cut the Scalloped Grid Coverplate Die from white cardstock. Trim it to a smaller grid section and adhere it to the ink-blended rectangle using thin foam strips.
- Adhere the completed rectangle panel to the card using liquid glue.
- Stamp the Peony Glow images using Rocky Slope ink.
- Color the stamped images using the coordinating stencils:
- Stencil 1: Sparling Rose, Bubble Gum
- Stencil 2: Fresh Pear, Grassy Knoll
- Stencil 3: Mimosa, Mango Sorbet
- Stencil 4: Raspberry Bliss
- Stencil 5: Lemon Whip
- Stamp the sentiment with VersaMark ink and heat-emboss with gold embossing powder.
- Die cut the flowers and sentiment using the coordinating dies.
- Stack each die cut with one additional blank die cut for added sturdiness.
- Adhere the floral clusters to opposite corners of the grid using thick foam tape.
- Adhere the sentiment over the center using a double layer of thick foam tape so it sits slightly higher than the floral clusters.


I absolutely love how fresh and vibrant this card feels. The colorful cardstock strips create a custom background that adds personality without stealing attention from the flowers, while the raised grid and layered sentiment add even more depth and dimension.
This is also a wonderful reminder that you don't always need ink blending to create a colorful background. Sometimes a few strips of coordinating cardstock can completely transform a coverplate die into something unique. Combined with a diagonal layout that naturally guides the eye across the card, the result is a clean yet playful design that's full of movement and color.
I hope today's project inspires you to look at your coverplate dies a little differently and experiment with creating your own colorful backgrounds. Thanks so much for stopping by, and I'll see you again soon!

Recommended Products
















1 comment
Tracy
I love how you cut off the curved/scalloped edges to the coverplate die- completely transformed it!!!
Leave a comment
All comments are moderated before being published.
This site is protected by hCaptcha and the hCaptcha Privacy Policy and Terms of Service apply.