
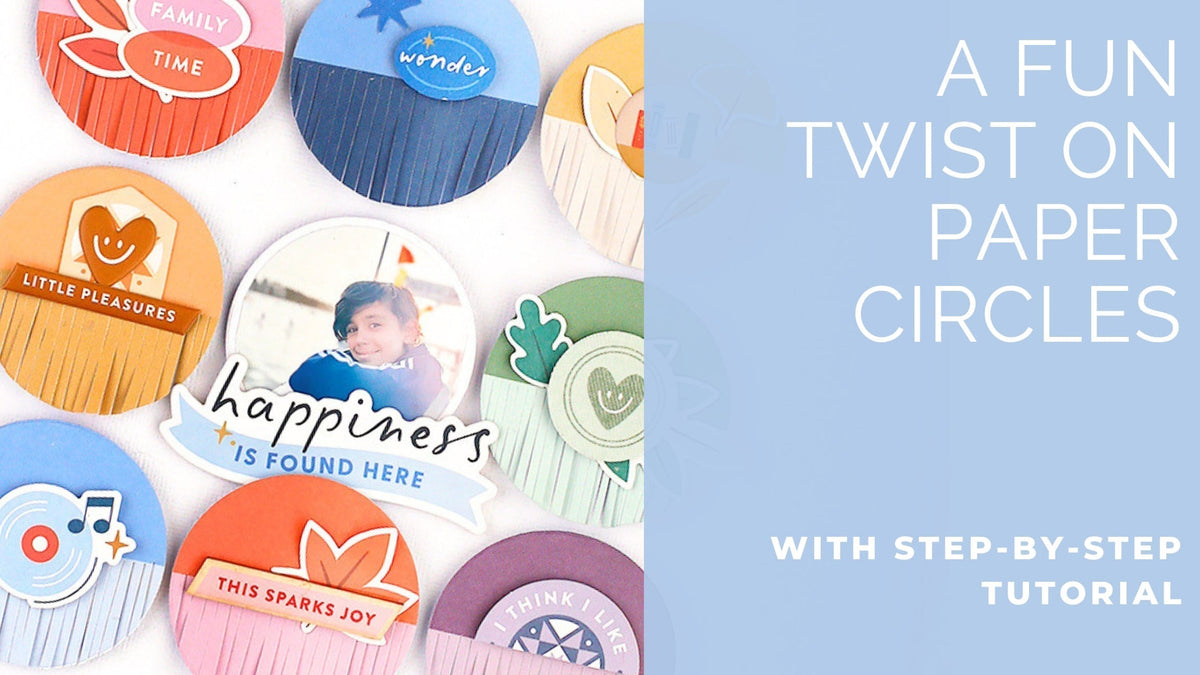
Hi Pinkfresh Studio friends! It's Eva on the blog today sharing a colorful layout created with the beautiful Ordinary Joys collection.
For this design, I wanted to build a playful grid using circles while adding texture and dimension with a simple fringe technique.
*Disclaimer: All products used are linked below as clickable images. If a product isn’t listed, it’s been discontinued.


Step-by-Step Instructions
- Cut circles from patterned papers and create fringe on the bottom half of each one.
- Arrange the circles in a grid and place your photo in the center of the design.
- Add a chipboard title below the photo to create a focal point.
- Decorate each circle with die cuts, puffy stickers, and chipboard pieces. Match the embellishments to the circle colors for a tone-on-tone look.
- Trim a small border from your white cardstock, layer patterned paper underneath, fold the edges, and add stitching around the page.
Tip: Choose embellishments in the same color family as your background elements to create depth and visual harmony without making the page feel busy.
Thank you so much for joining me today. I hope you give this fringed-circle design a try and have fun mixing colors and embellishments with the Ordinary Joys collection.
Have a great day!
Eva
Recommended Products


Ordinary Joys: 12x12 Paper Pack
Sale price$15.00

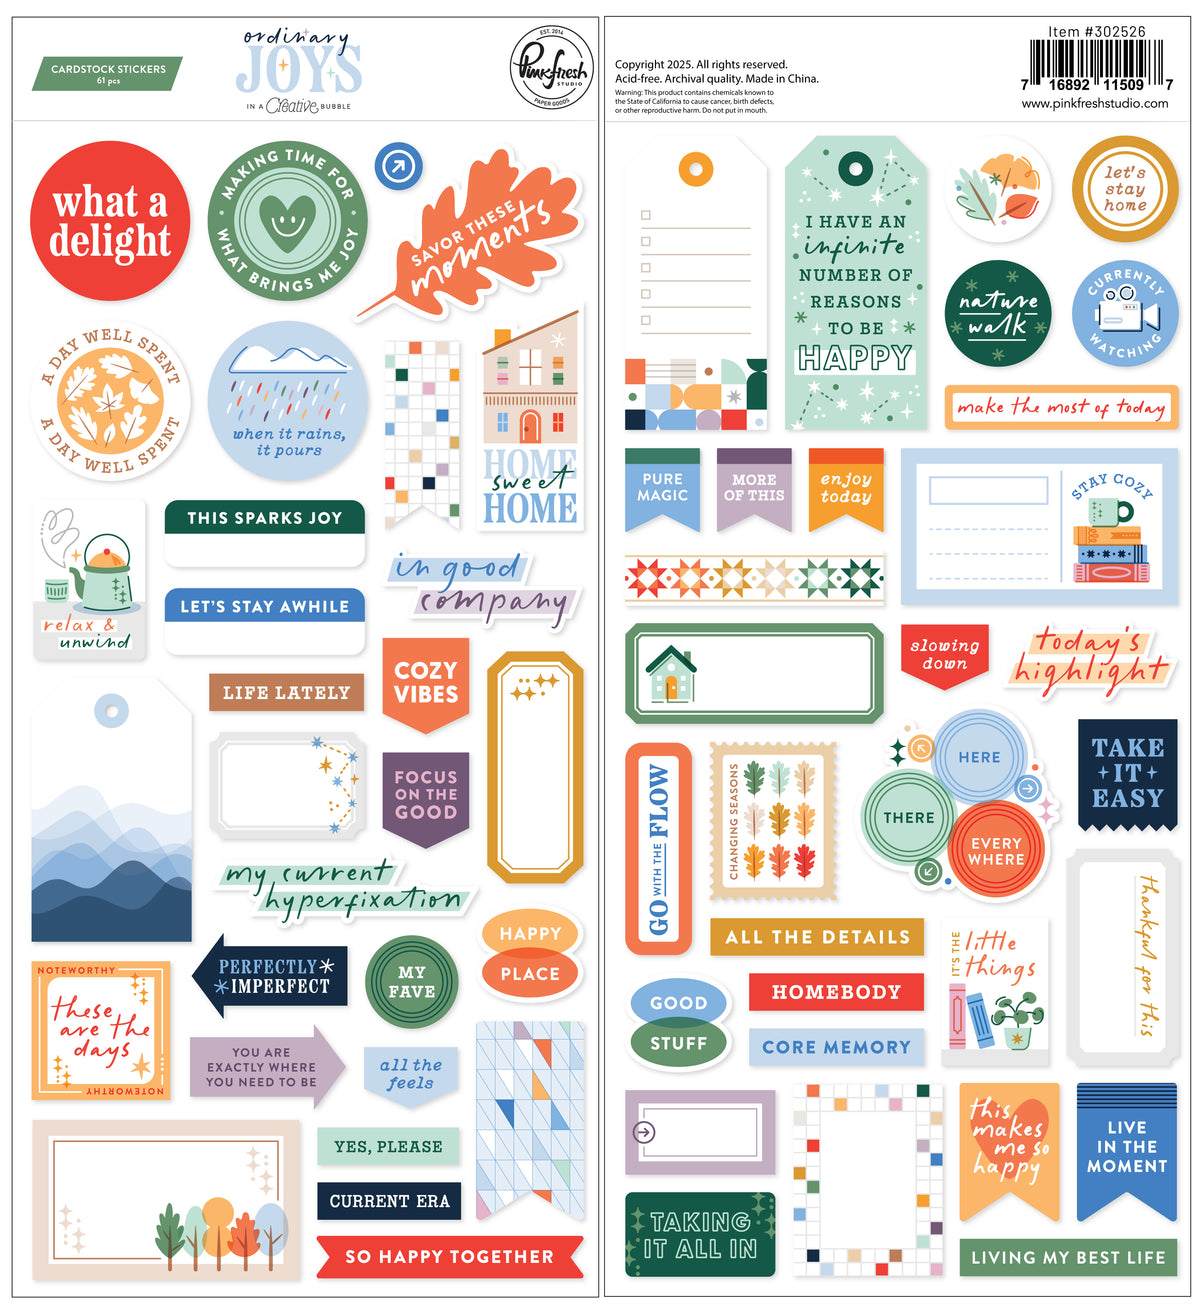


Ordinary Joys: Cardstock Stickers
Sale price$6.00


Ordinary Joys: Chipboard Phrase Stickers
Sale price$7.50


Ordinary Joys: Colored Wood Veneer
Sale price$6.00


Ordinary Joys: Ephemera
Sale price$6.50


Ordinary Joys: Fabric Border Stickers
Sale price$5.50
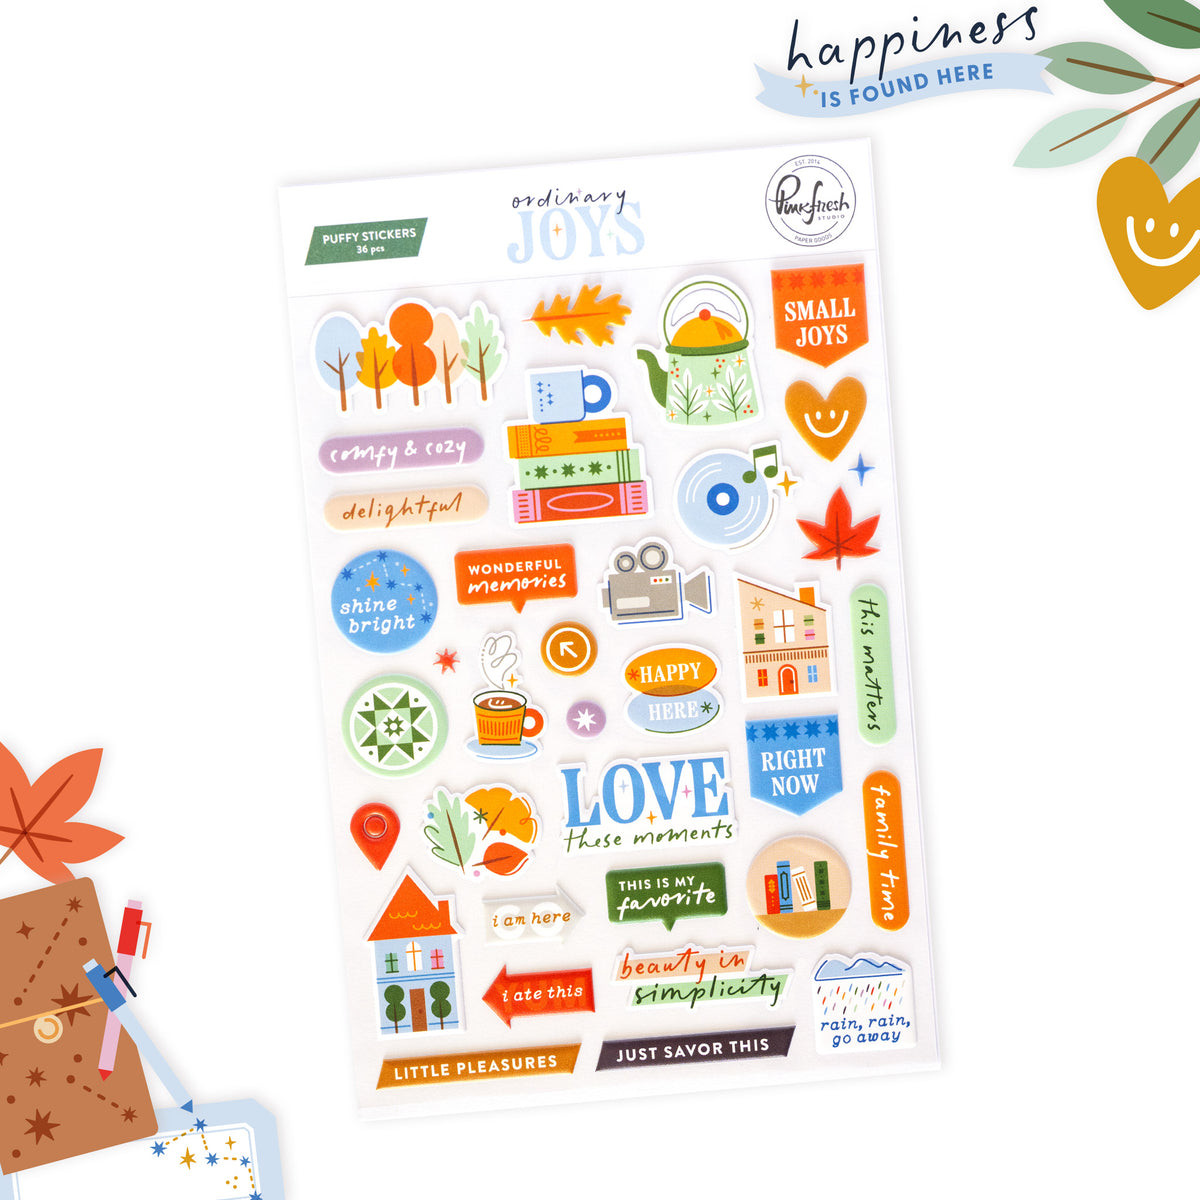
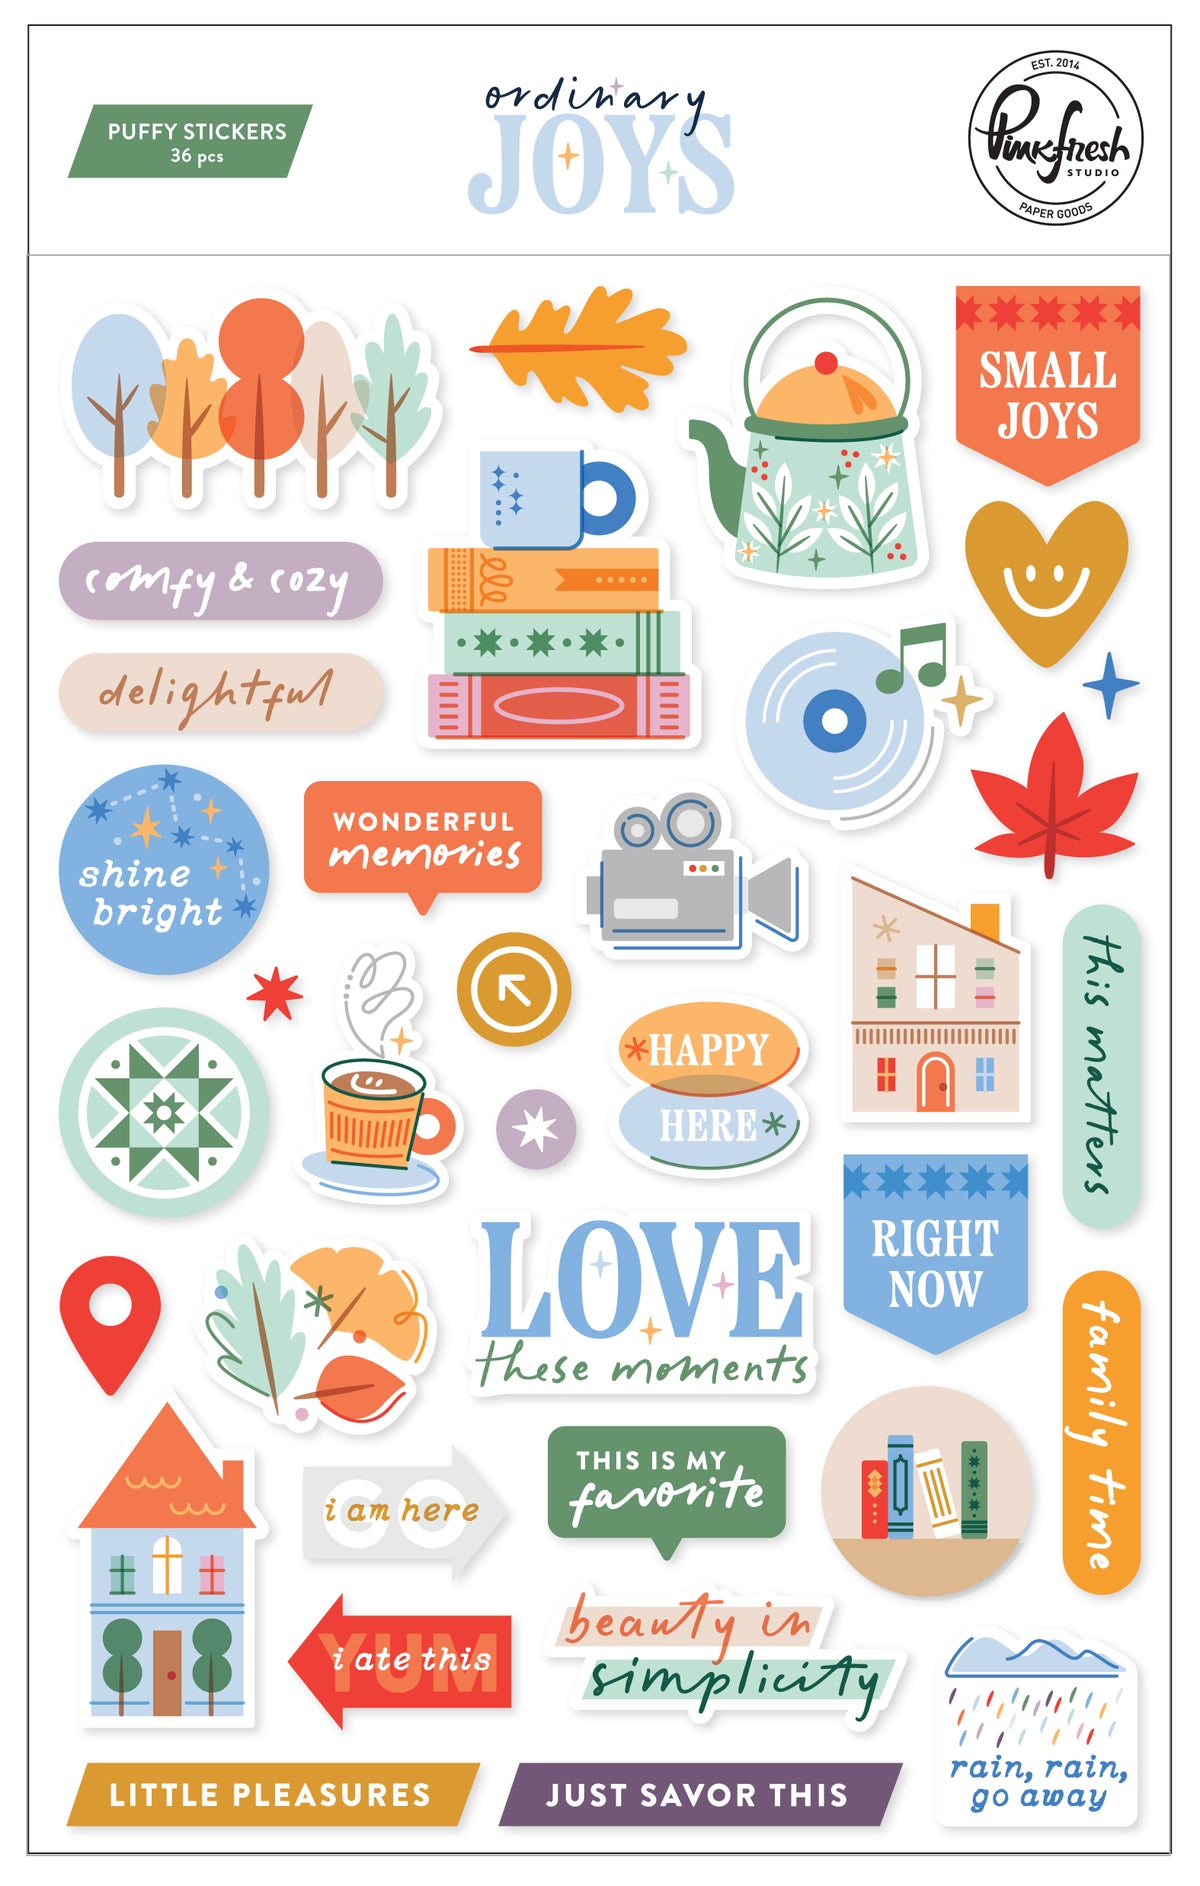


Ordinary Joys: Puffy Stickers
Sale price$5.50


Precision Clear Craft Glue .5 oz
Sale price$5.00


Precision Clear Craft Glue 2 oz
Sale price$10.00


Leave a comment
All comments are moderated before being published.
This site is protected by hCaptcha and the hCaptcha Privacy Policy and Terms of Service apply.